


How to embed your new 360 tour into WordPress
This tutorial takes you through a few easy steps to add your new 360 tour iframe into your WordPress website.
So you’ve just received the link to your lovely new tour from Striking Places. You’re now ready to put it into your website so your customers and potential customers can take a virtual wander around your gorgeous premises (or event) and get a taste of the experience you offer.
Now to show you how to embed that tour into your website, simply and easily…
Step one
Login to your website as usual. You will then be taken to the WordPress dashboard and it might look something like below (depending on your installation.
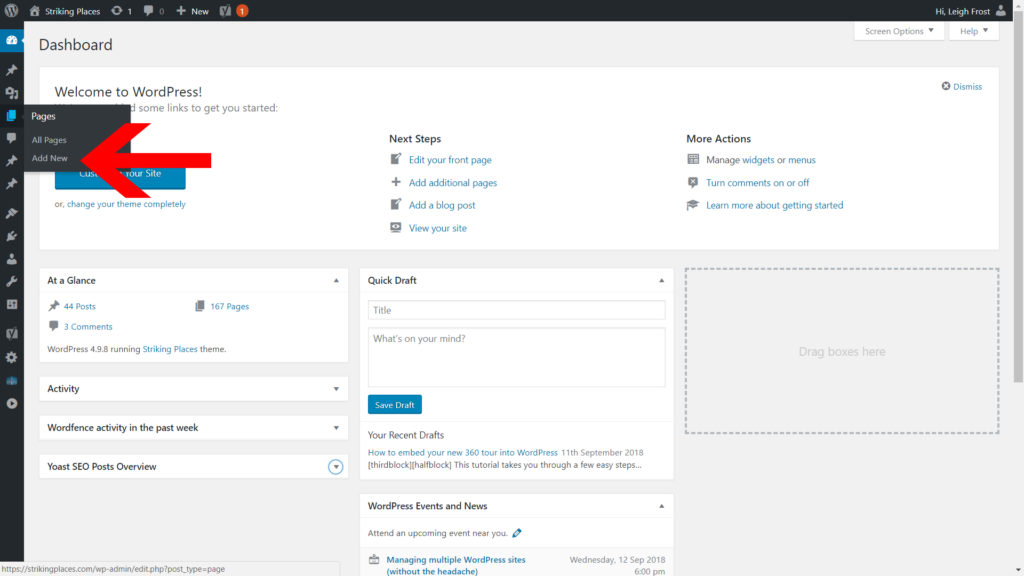
Step two
Click pages to see your list of pages. Then, if you’re new to using WordPress, we recommend creating a new page to add the tour into. If you’re a pro and used to using WordPress then you can add it into a page that’s already created.
To add a new page click [Add New]
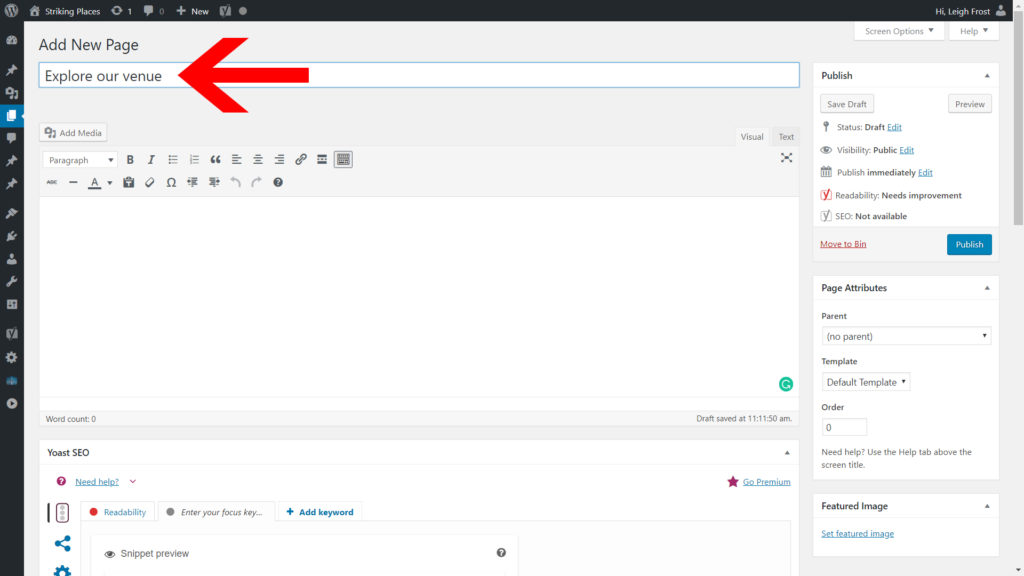
Step three
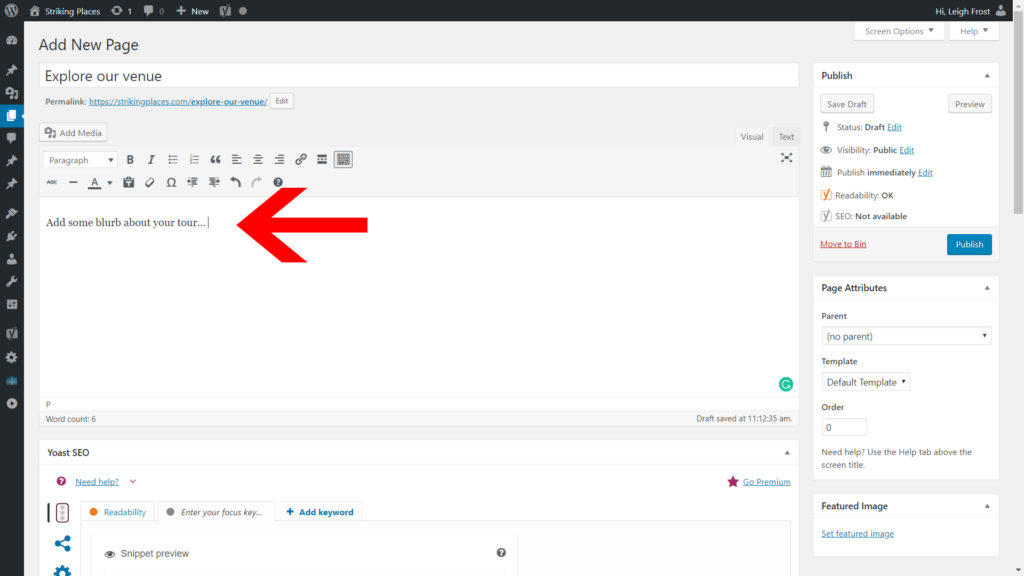
For your new page, add a title, then add a blurb into the editing box. Something like “This is our fabulous new 360 Tour. Use the arrows to explore our building…”
Step four
Go to your email from Striking Places and copy the code from the email.
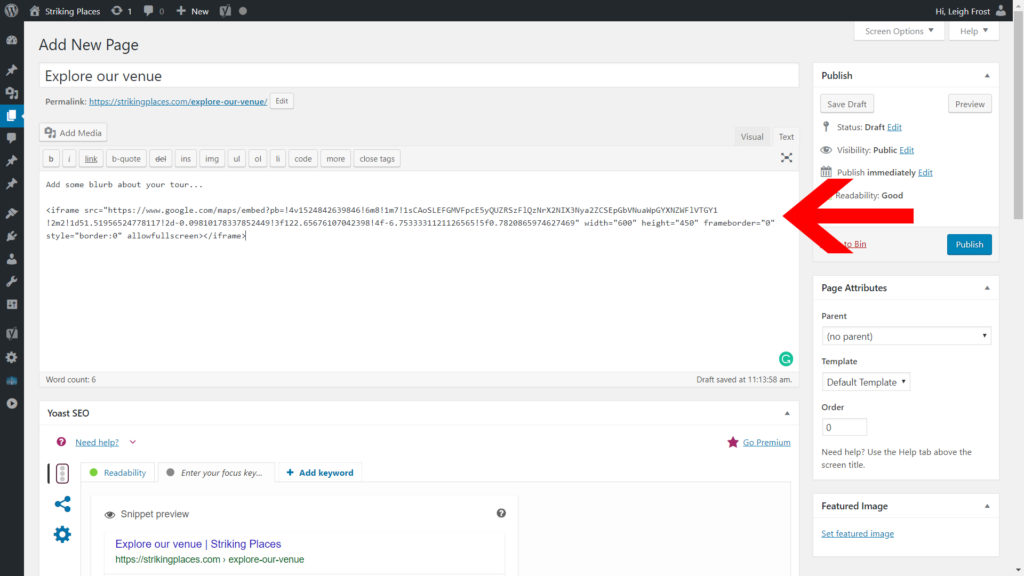
To enter the code you’ve been given click [Text] on the top right hand side of the editing box.
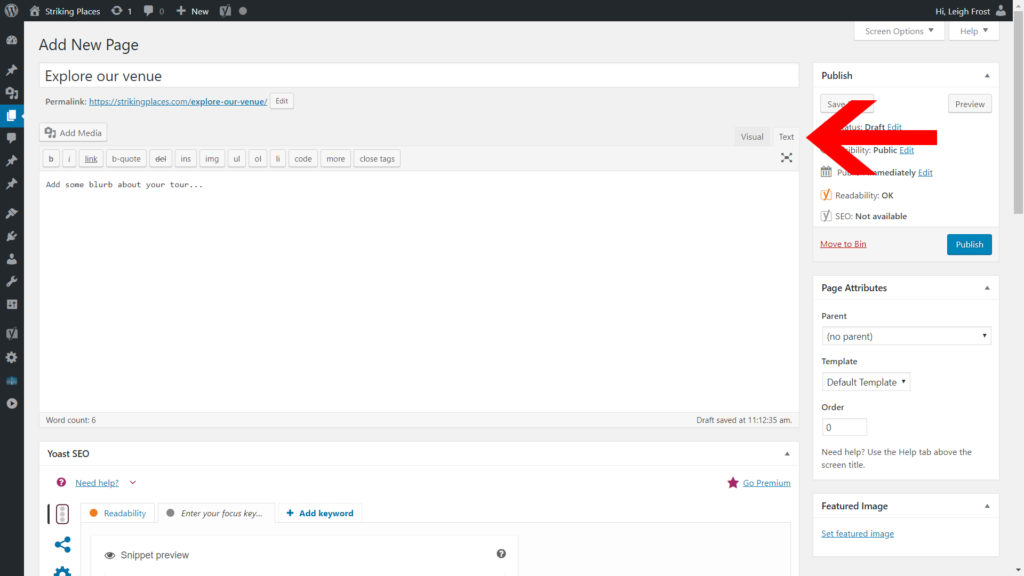
This is where you can paste in the code you’ve been given into the editing box.
Step five
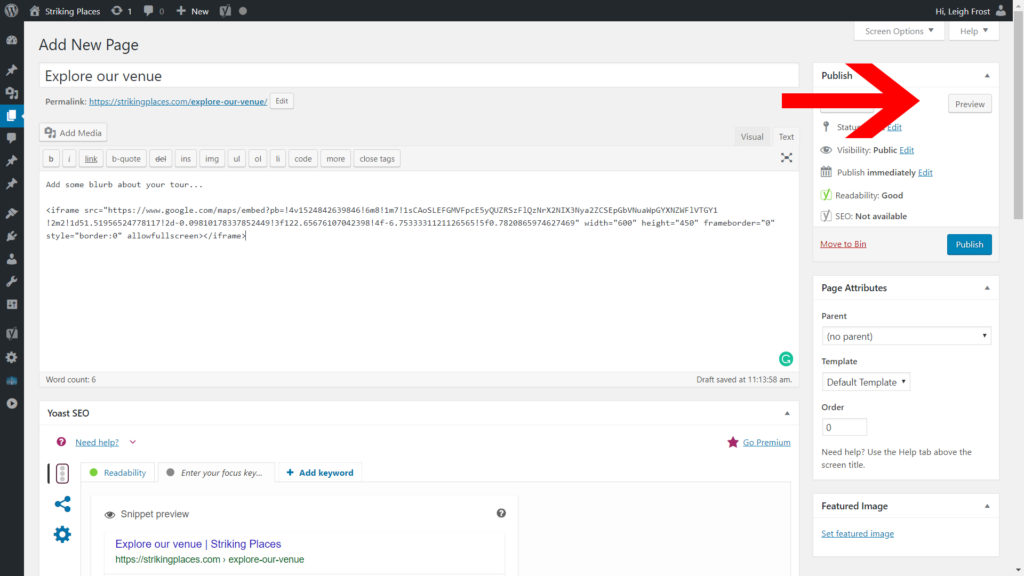
Check you’re happy with how the page looks by clicking [Preview]. If you’re happy with the page, close the preview tab and click [Publish].
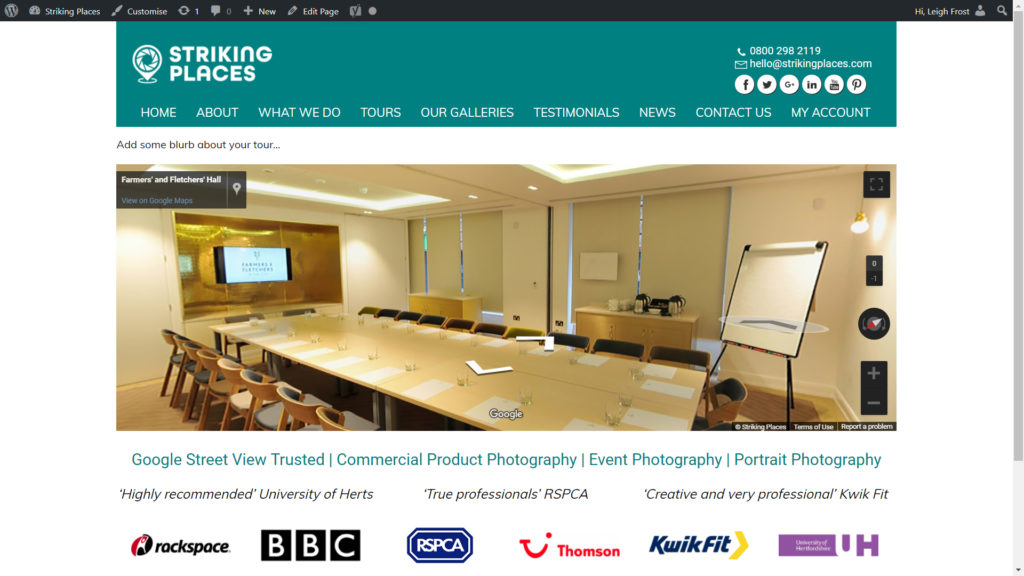
The finished article will then look something like this…
Top Tips
1. WordPress installations vary a lot, so if your system is using an array of plugins and you’re not seeing anything similar to the images on this tutorial, you might need to speak to your web developer.
2. Ensure there are no return carriages or new lines created by your email programme when you copy the code. It should all look a bit like this…
<iframe src="https://www.google.com/maps/embed?pb=!4v1524842639846!6m8!1m7!

1sCAoSLEFGMVFpcE5yQUZRSzFlQzNrX2NIX3Nya2ZCSEpGbVNuaWpGYXNZWFlVTGY1

!2m2!1d51.51956524778117!2d-0.09810178337852449!3f122.65676107042398

!4f-6.7533331121126565!5f0.7820865974627469" width="600" height="450" frameborder="0" style="border:0" allowfullscreen></iframe>
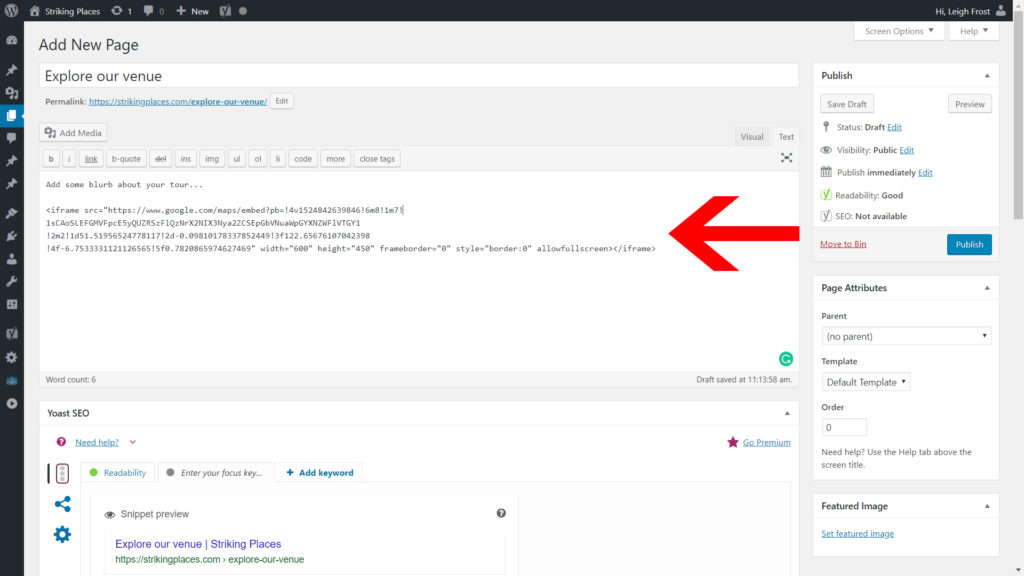
If when you paste the iframe it looks a bit like this picture below (note it’s rolling on to several lines) then you can either try deleting the extra return carriages/new lines or ask Jo Hailey to send you your code in a text file instead.
3. Make your page visible to more people. Share the link on social media, add the link to your homepage and navigation/tabs. You can copy the link by right-clicking the link that appears as below and selecting ‘Copy Link Address’

4. Remember to proofread your page
5. [Warning: Advanced Tip] to change the width of the iframe/tour or the height look for this in the code.
width="600px" height="400px"
Width and height are measured in px, which is short for pixels. A pixel is one of the dots in your screen. To give you an idea of how that translates to the screen you’re on, a mobile phone is around 700px wide. A laptop around 1000px. You can play with the width until you’re happy.
